Calendar and contact synchronization on the Sooma platform is done using the Caldav and Carddav protocols. These are supported natively on Apple platforms. On Windows, and specifically in Outlook, additional software installation is required. This article explains the installation and configuration process step by step.
The first step is to download the synchronization software at:
https://caldavsynchronizer.org/
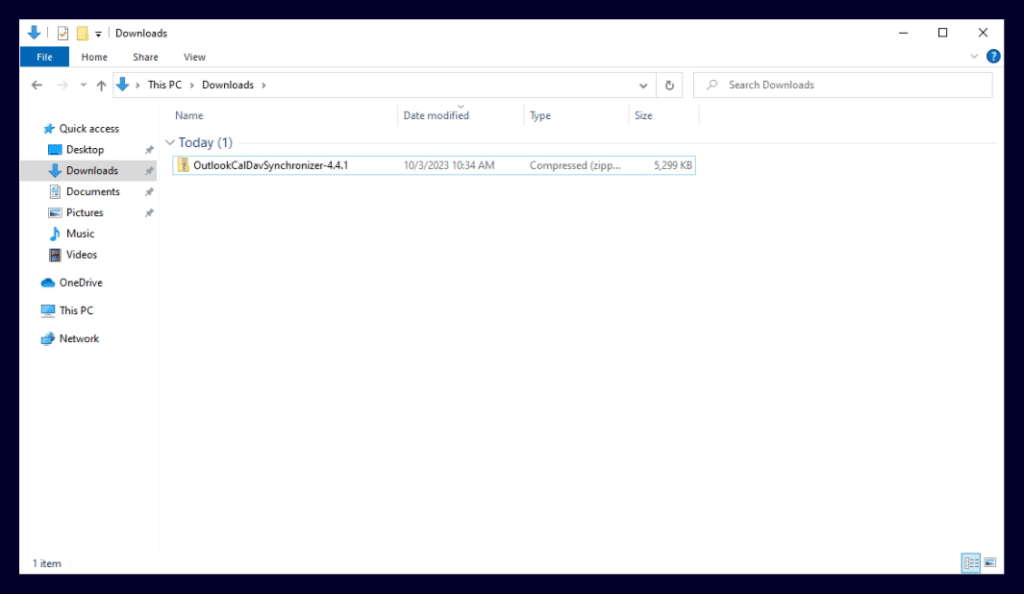
Click on “Download” in the top bar and then on the Download button that appears on the next page. A .zip file with a name similar to this one will appear in your download folder:
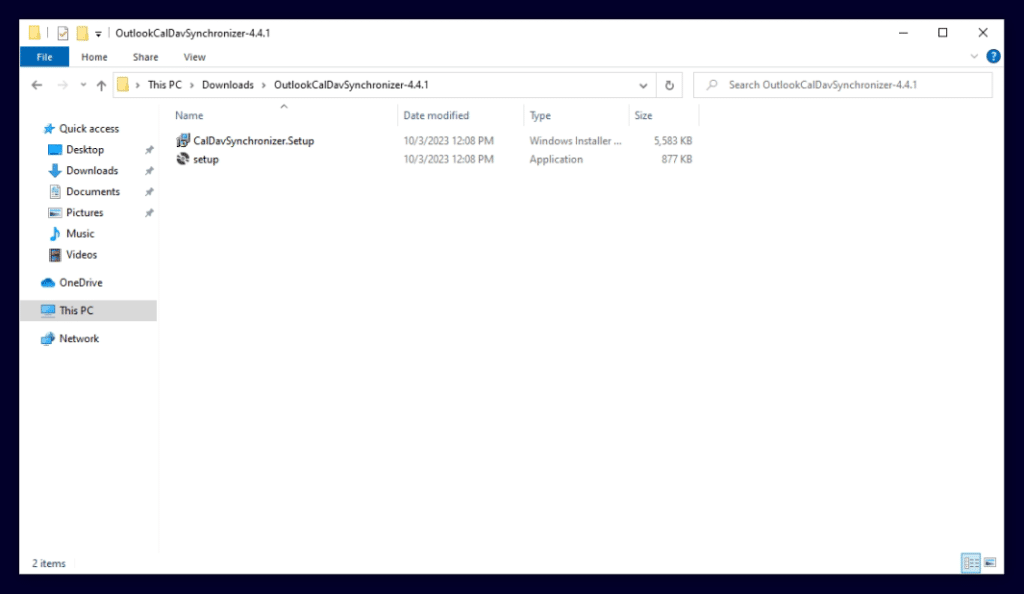
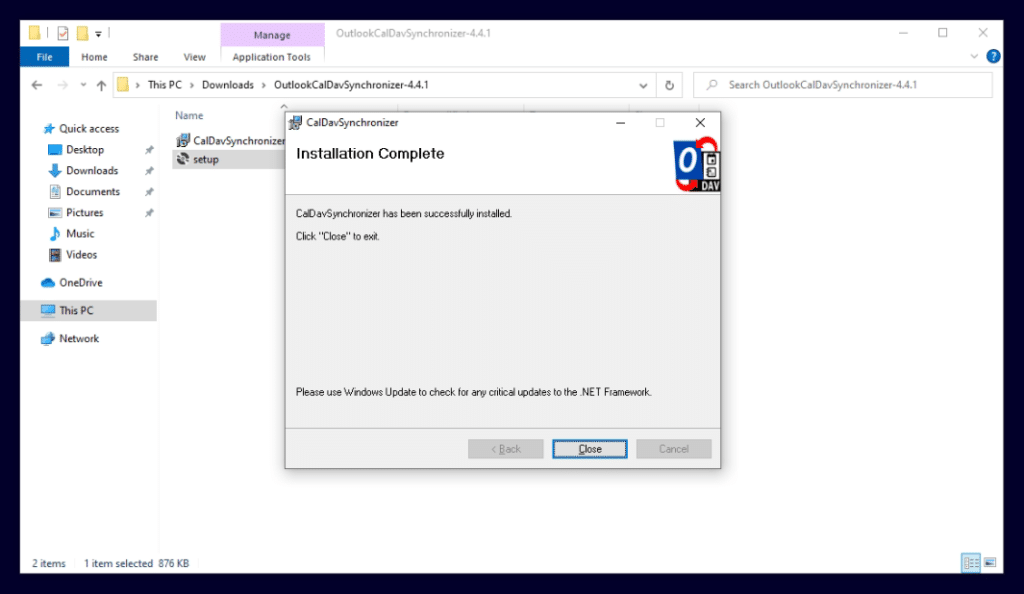
Unzip this file by right-clicking on it, choosing the option to unzip everything and following the wizard to the end. A folder with this content will appear:
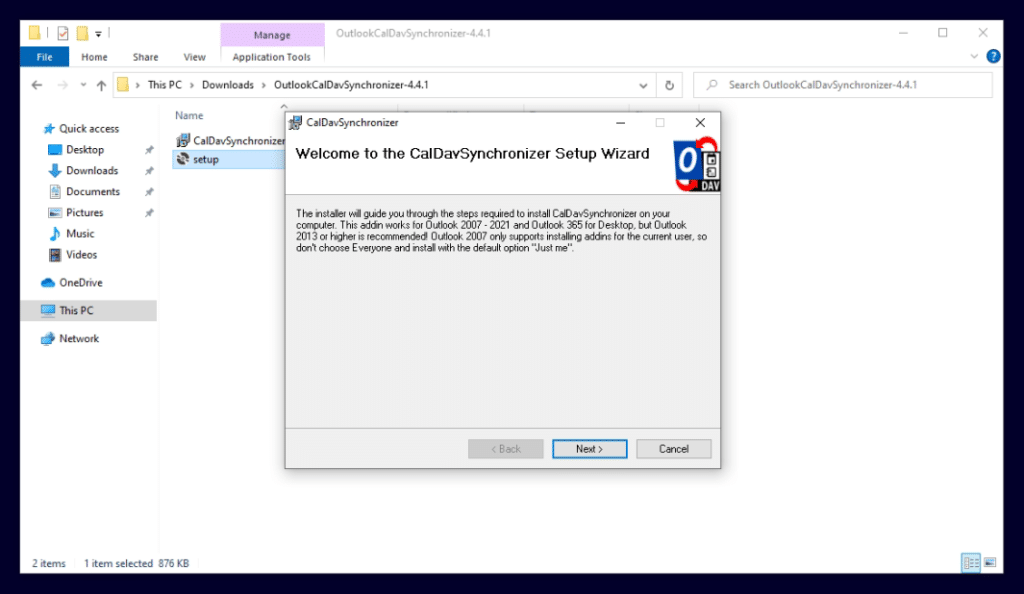
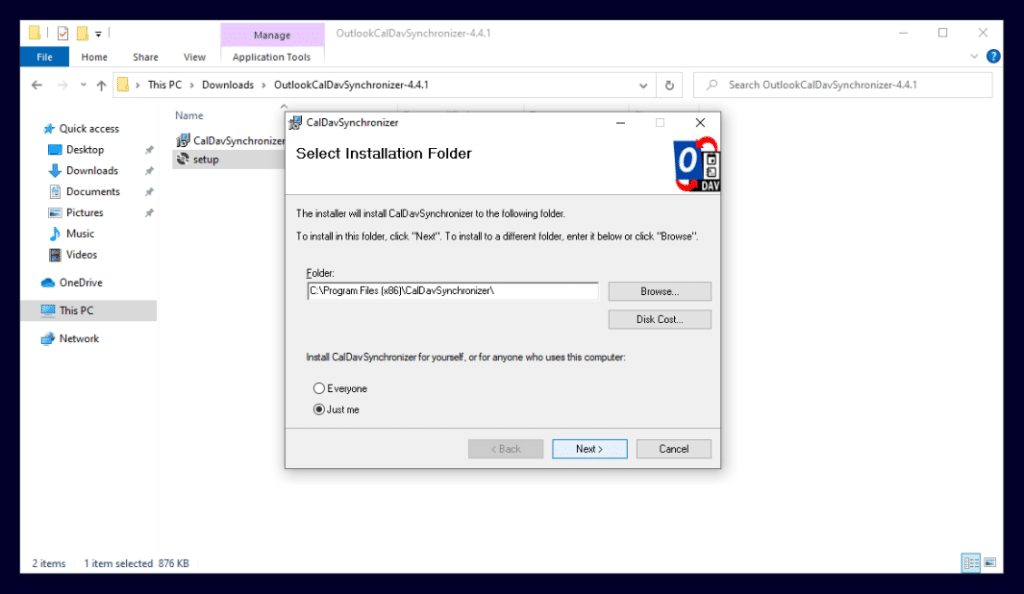
Double-click on “setup” to start the installation. Follow the installation wizard to the end, without changing the options.
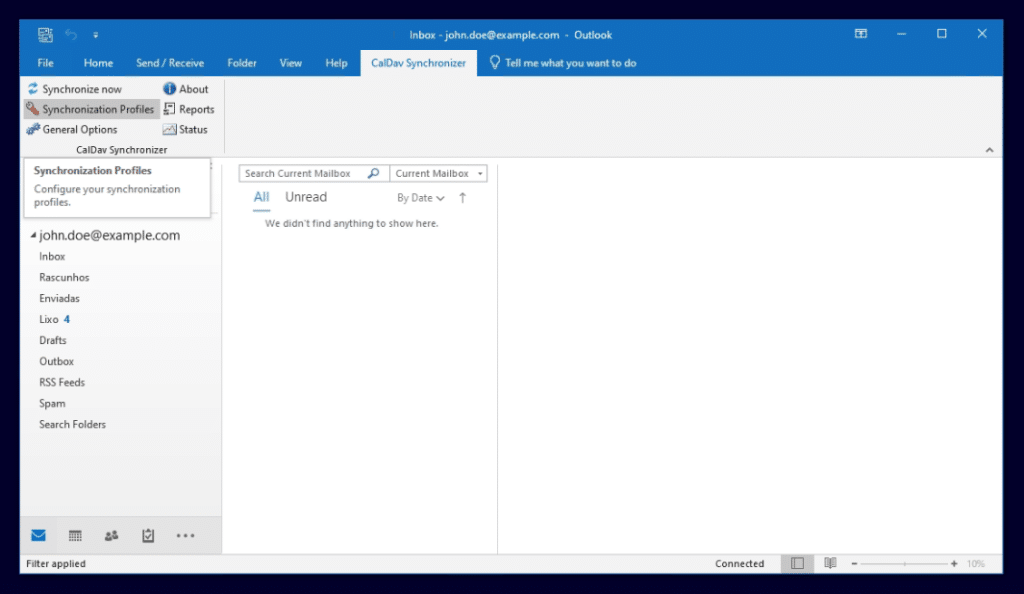
Now open Outlook. There is a new menu at the top, “Caldav Synchronizer”:
Click on “Synchronization Profiles”, and then on the + button in the toolbar:

From the list of options for profile type, choose “Generic CalDAV/CardDAV” and click Ok.
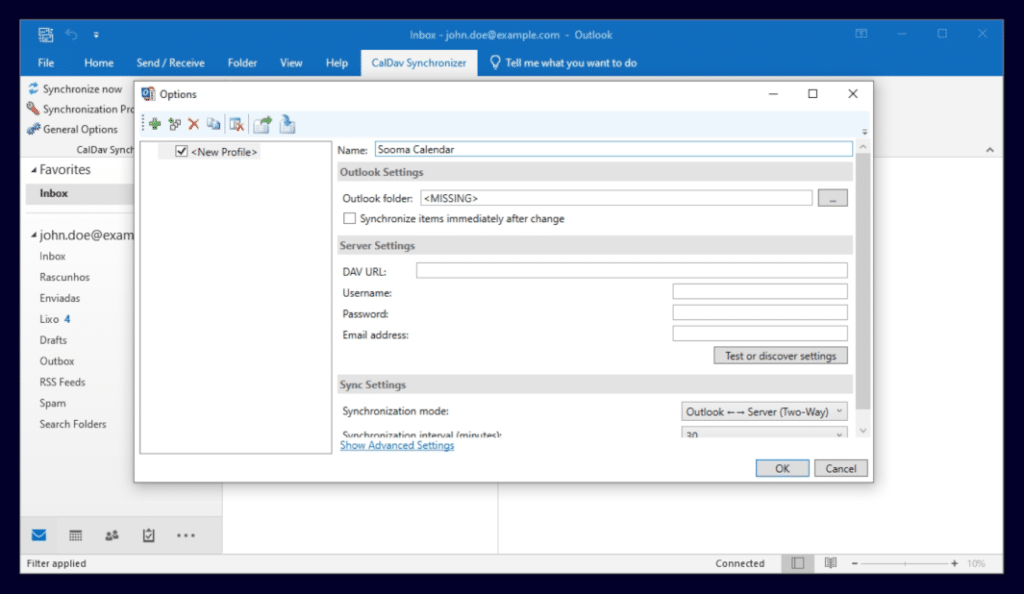
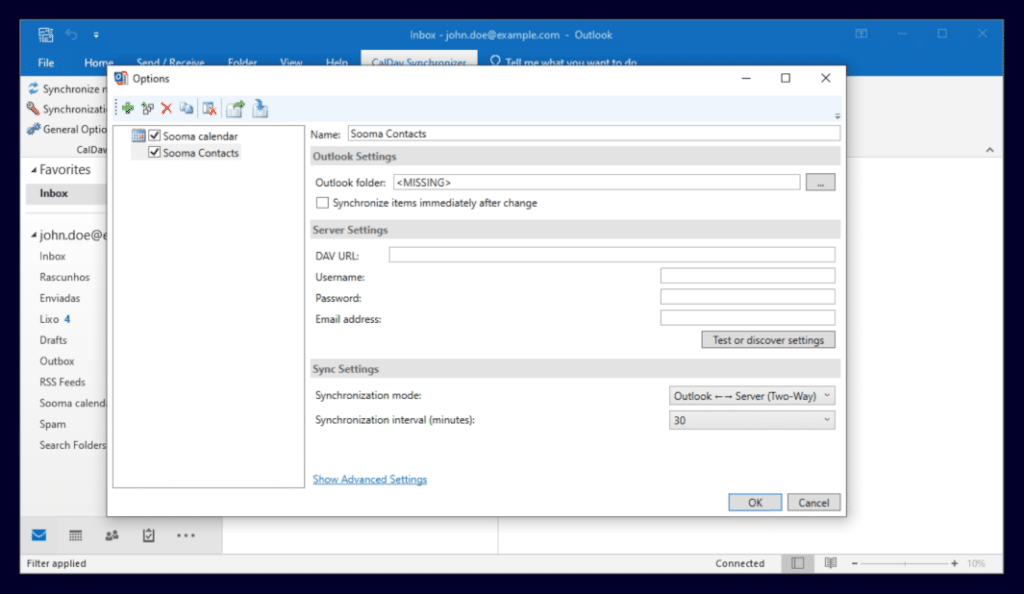
Define the name of the profile, “Sooma Calendar” is a good option.
Click on the ellipsis to the right of “Outlook folder: “:
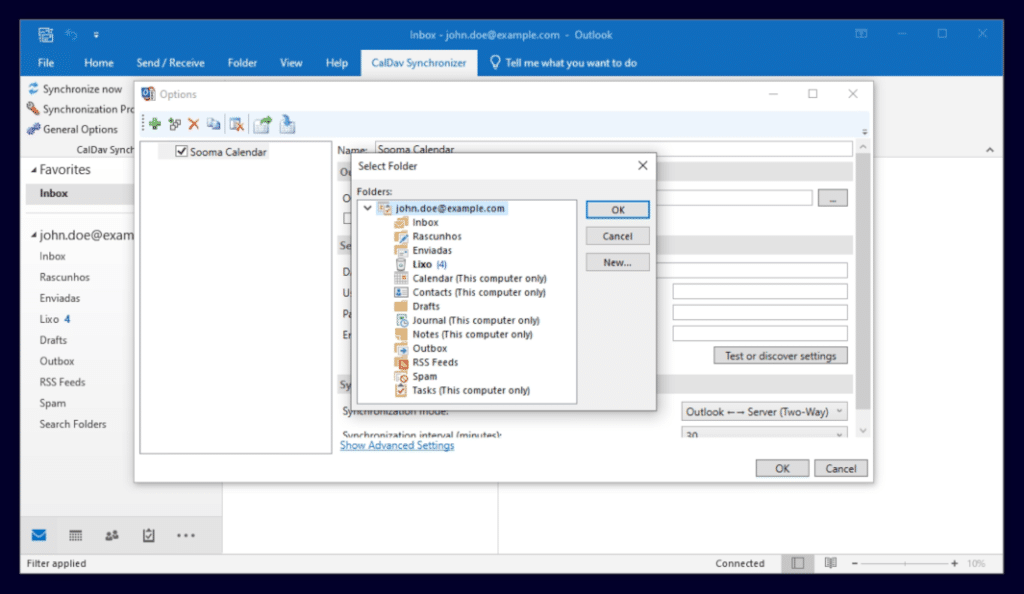
Here select the top folder (the account email), and click New
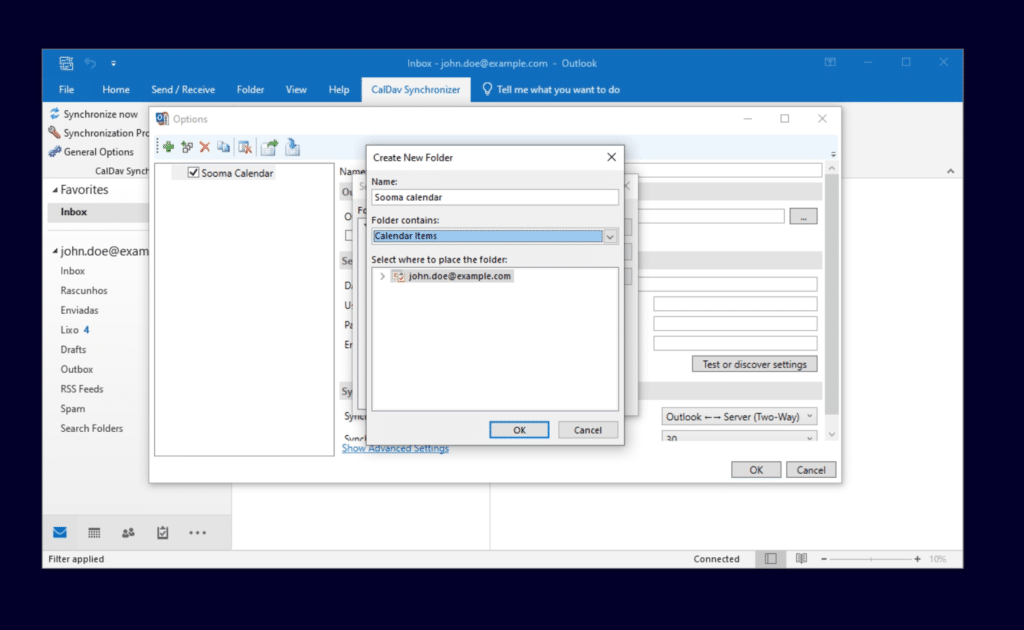
Give the calendar a name. Under Folder Contains, select the “Calendar items” option. Click on the two Ok buttons.
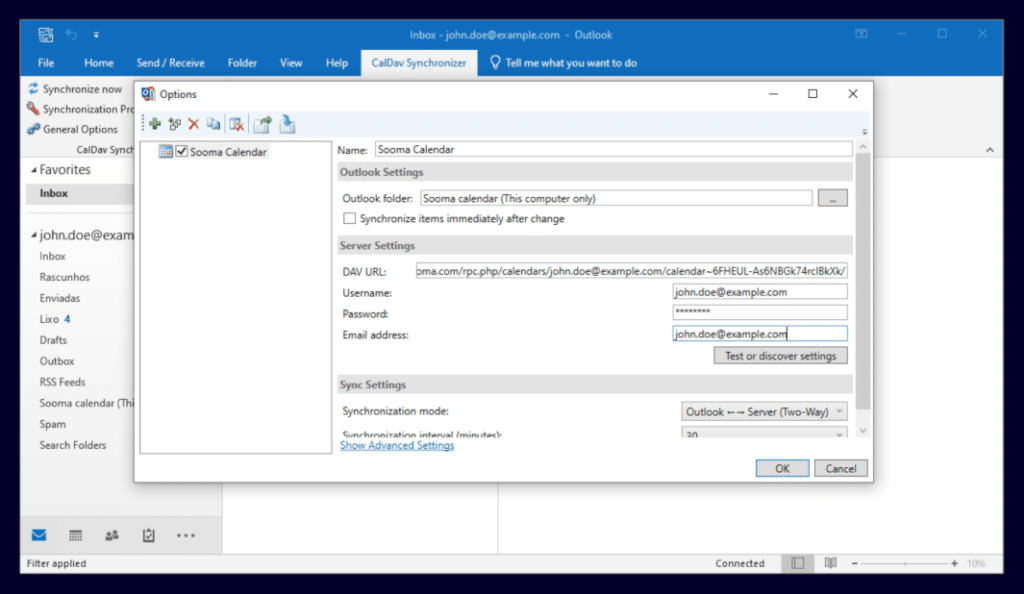
You now need to fill in the fields under “Server settings”:
- DAV Url: Taken from the webmail at https://mail.sooma.com according to the instructions below;
- Username: Your email address;
- Password: Your email password;
- Email address: Your email address again, the same as the username already filled in.
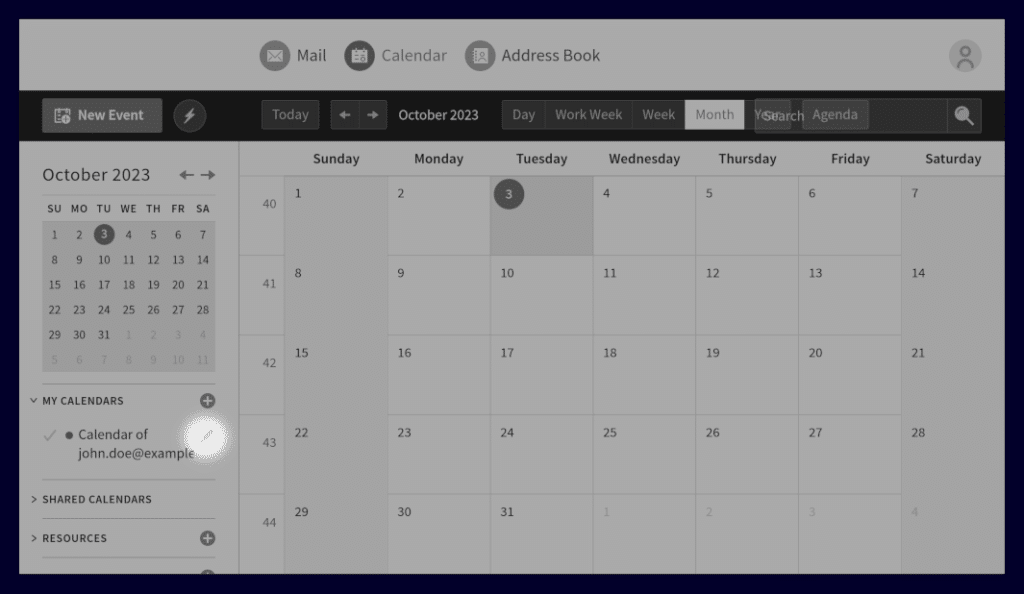
The DAV URL is in the webmail calendar. Log on to https://mail.sooma.com/, click on the calendar application at the top, and then on the edit calendar button in the left-hand bar:
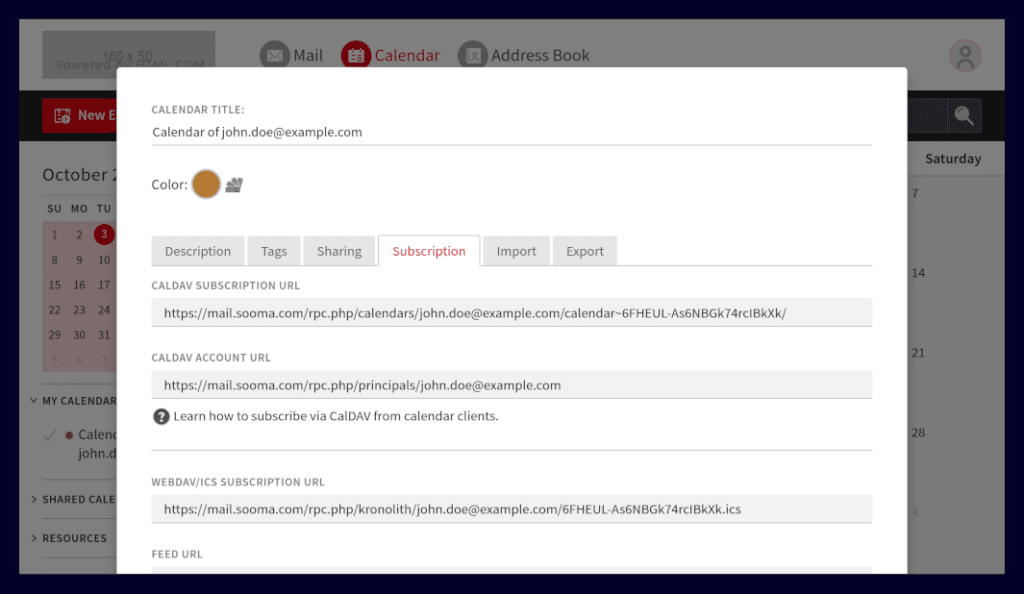
Here, click on the “Subscription” tab and copy the CalDAV Subscription URL. Use it to fill in the DAV Url in the “Server Settings”:

Click Ok and Synchronize Now, and the calendar is set up.
At this point you need to repeat the procedure for the address book. Click again on “Synchronization Profiles” and the + button in the Toolbar. Choose the profile type “Generic CalDAV/CardDAV” and click Ok:
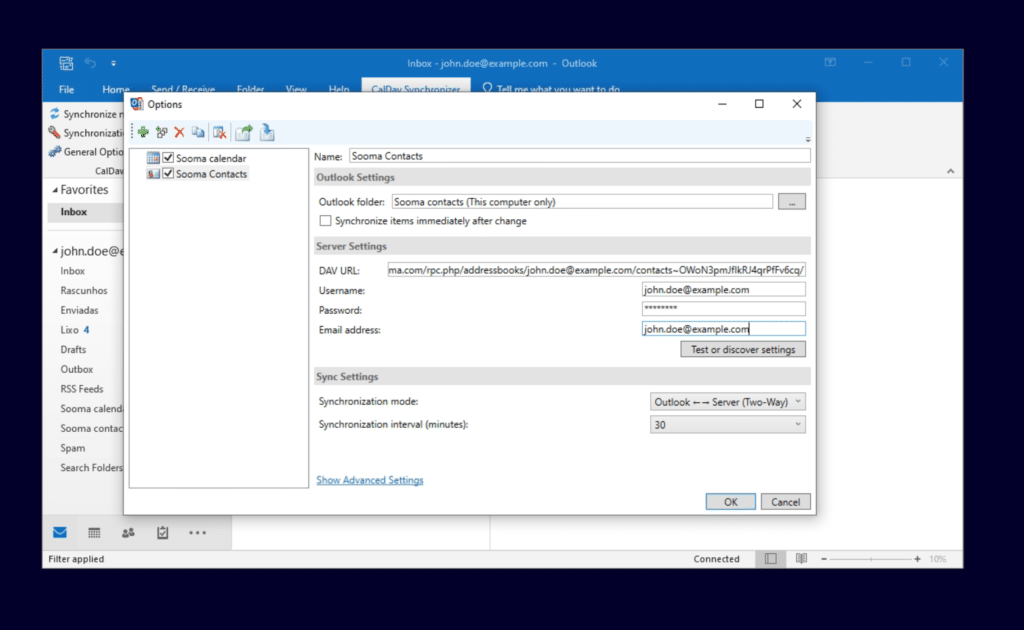
Here, give the profile a name, “Sooma contacts” is acceptable. Click again on the ellipsis after “Outlook folder: “, and create a folder for the contacts:
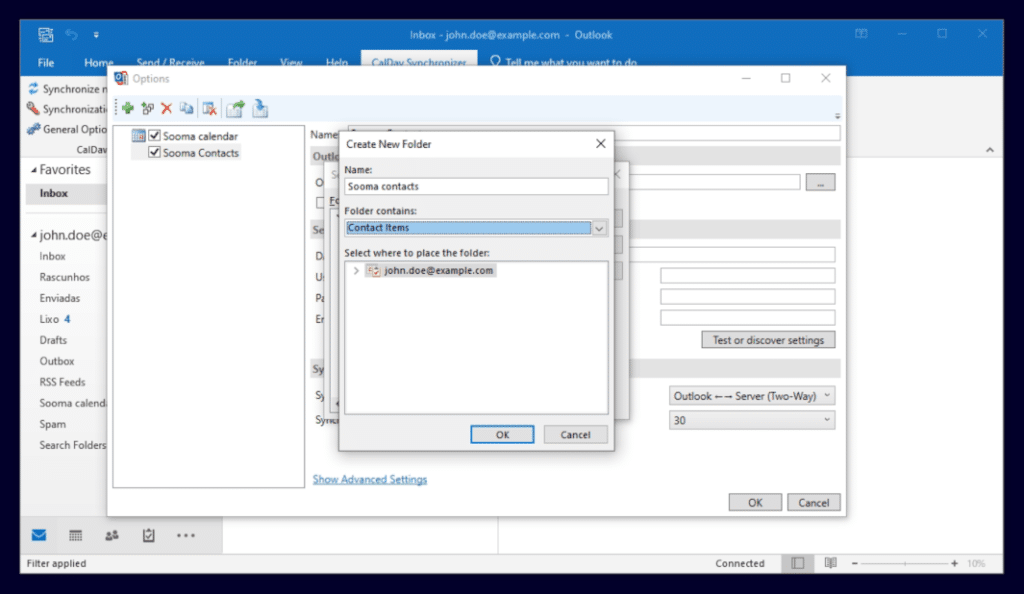
You can use any name you like. The “Folder contains” option must have the “Contact items” choice. The folder must be created at the top of the account: in “Select where to place the folder” the root of the account (the email) must be chosen.
Click Ok on both forms.
You now need to fill in the fields under “Server settings”:
- DAV Url: Taken from the webmail at mail.sooma.com according to the instructions below;
- Username: Your email address;
- Password: Your email password;
- Email address: Your email address again, the same as the username already filled in.
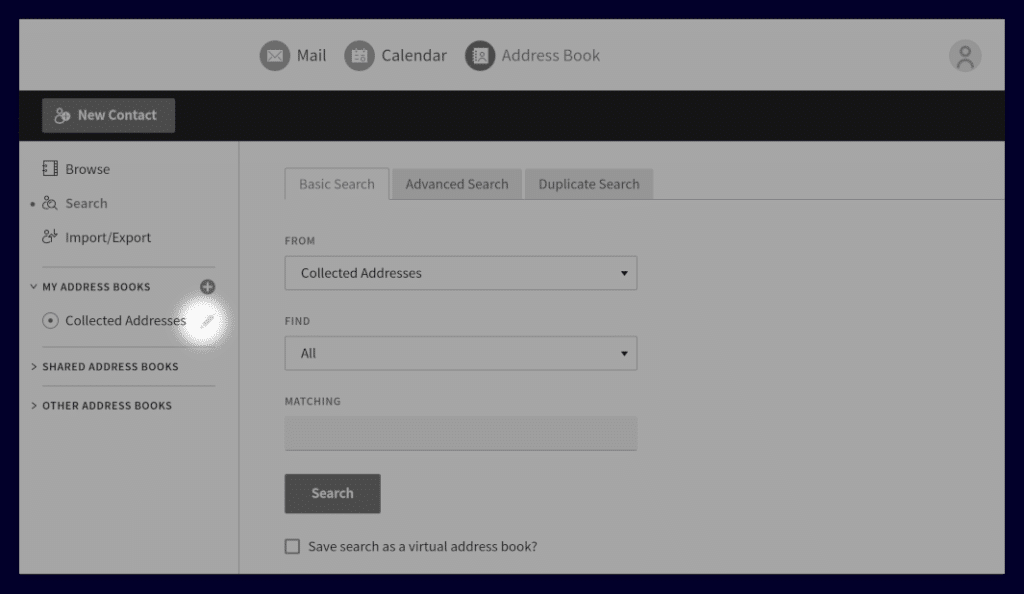
To get the DAV Url, log on to https://mail.sooma.com, select the address book application at the top, and click on the edit button for the desired address book:
In the dialog box that appears, copy the CardDAV Subscription URL:
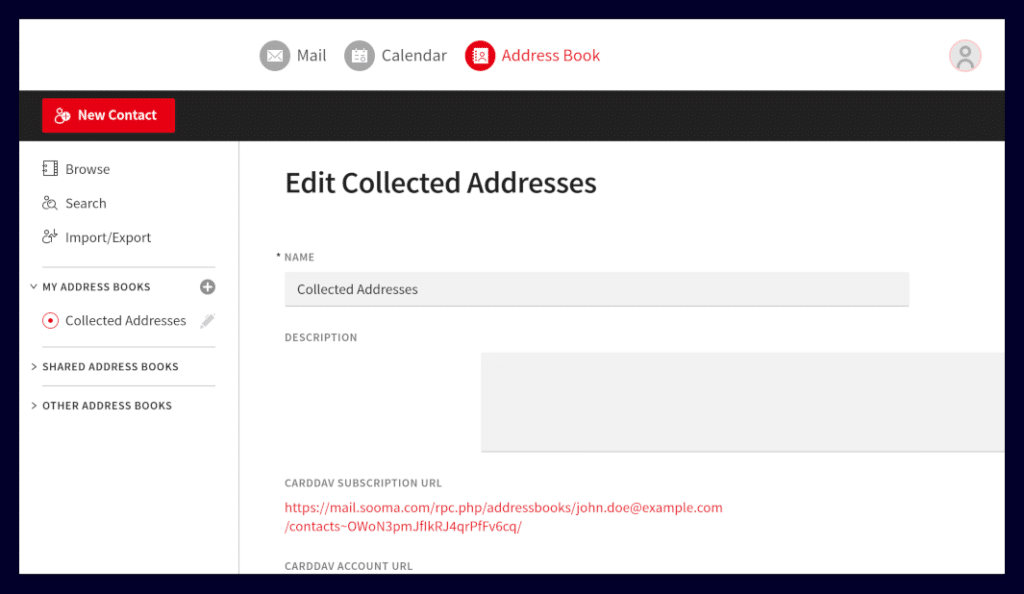
And use it to fill in the DAV Url in the “Server Settings””
Click Ok and Synchronize Now, and the address book is configured.