Set up IMAP email on iPhone
With IMAP, your messages stay on the server and in sync across all your devices: whatever you read, delete or file on the iPhone looks the same in webmail and on your computer. Before you start, make sure the iPhone is connected to the internet.
1. Open the accounts
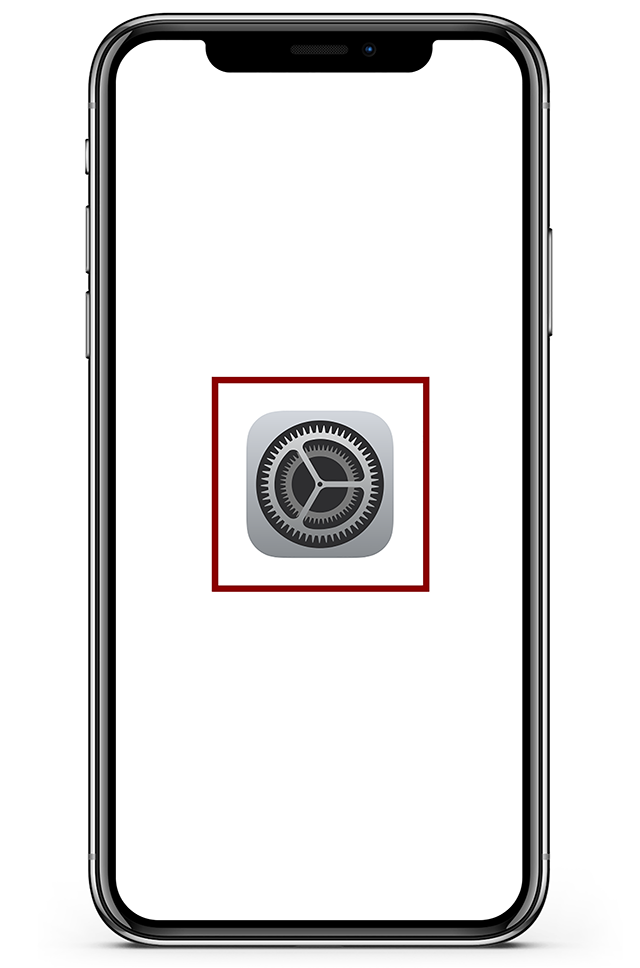
Tap Settings.
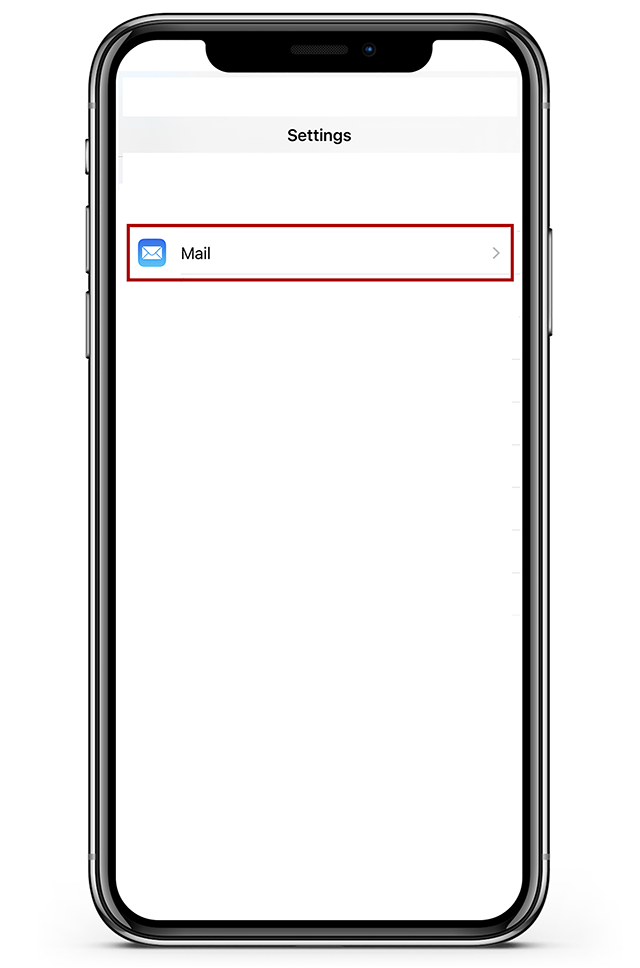
Tap Mail.
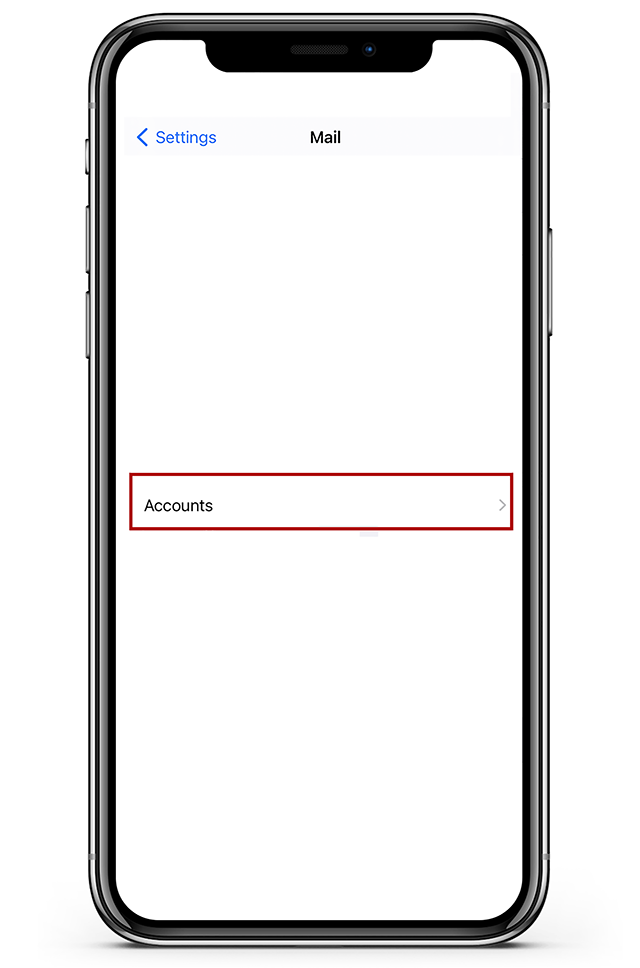
Tap Accounts.
2. Create the account
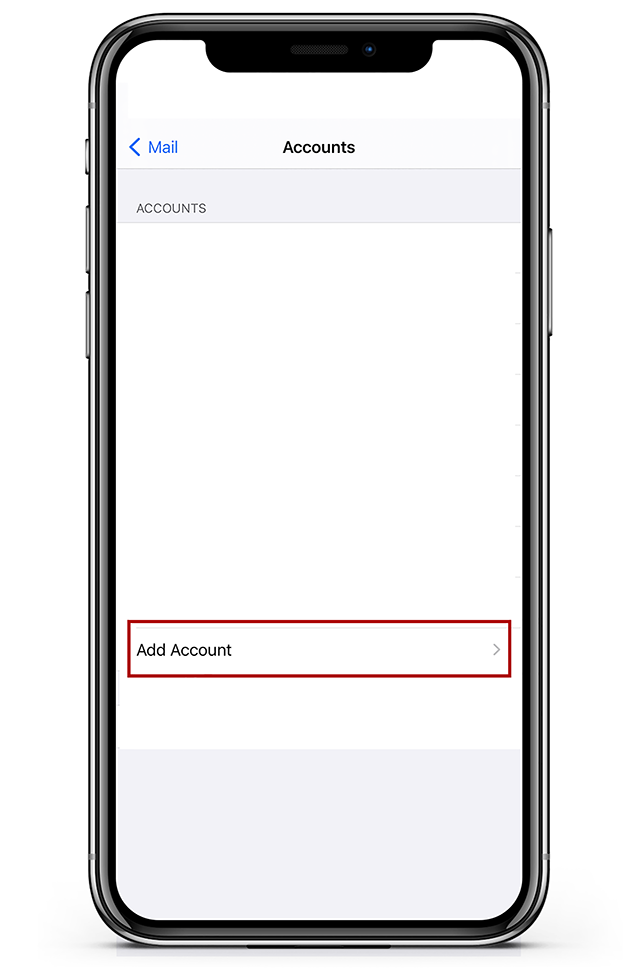
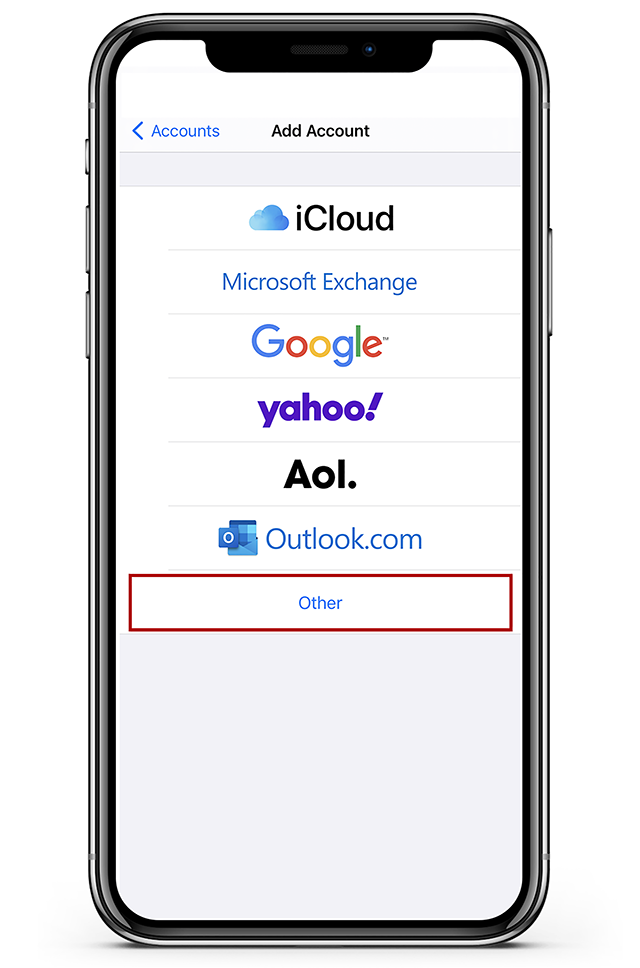
Tap Add Account.
Tap Other.
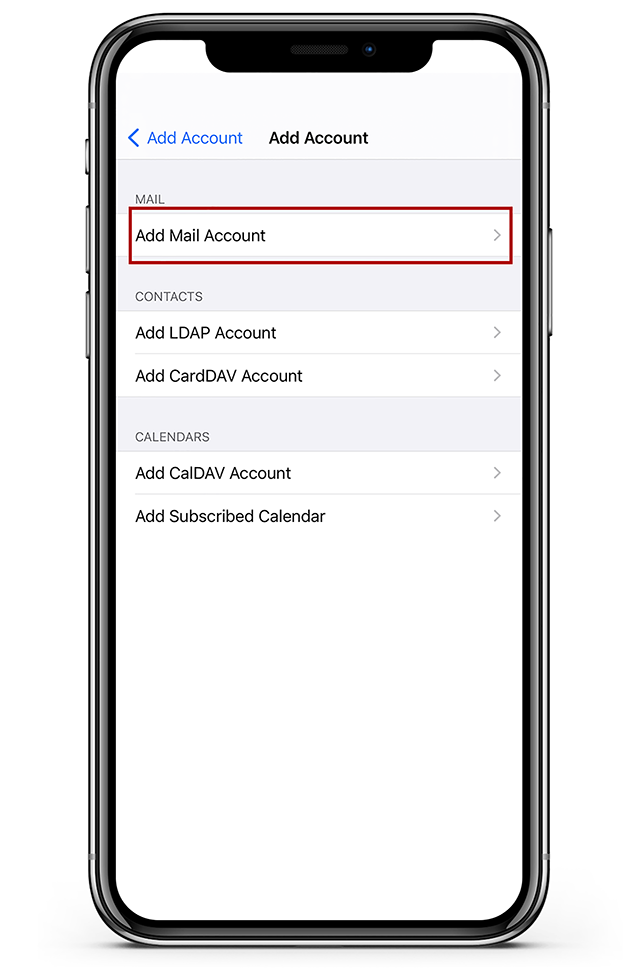
Tap Add Mail Account.
3. Account details
Enter the name you want to show as the sender, your full email address and your password. The description is optional (for example, Work).
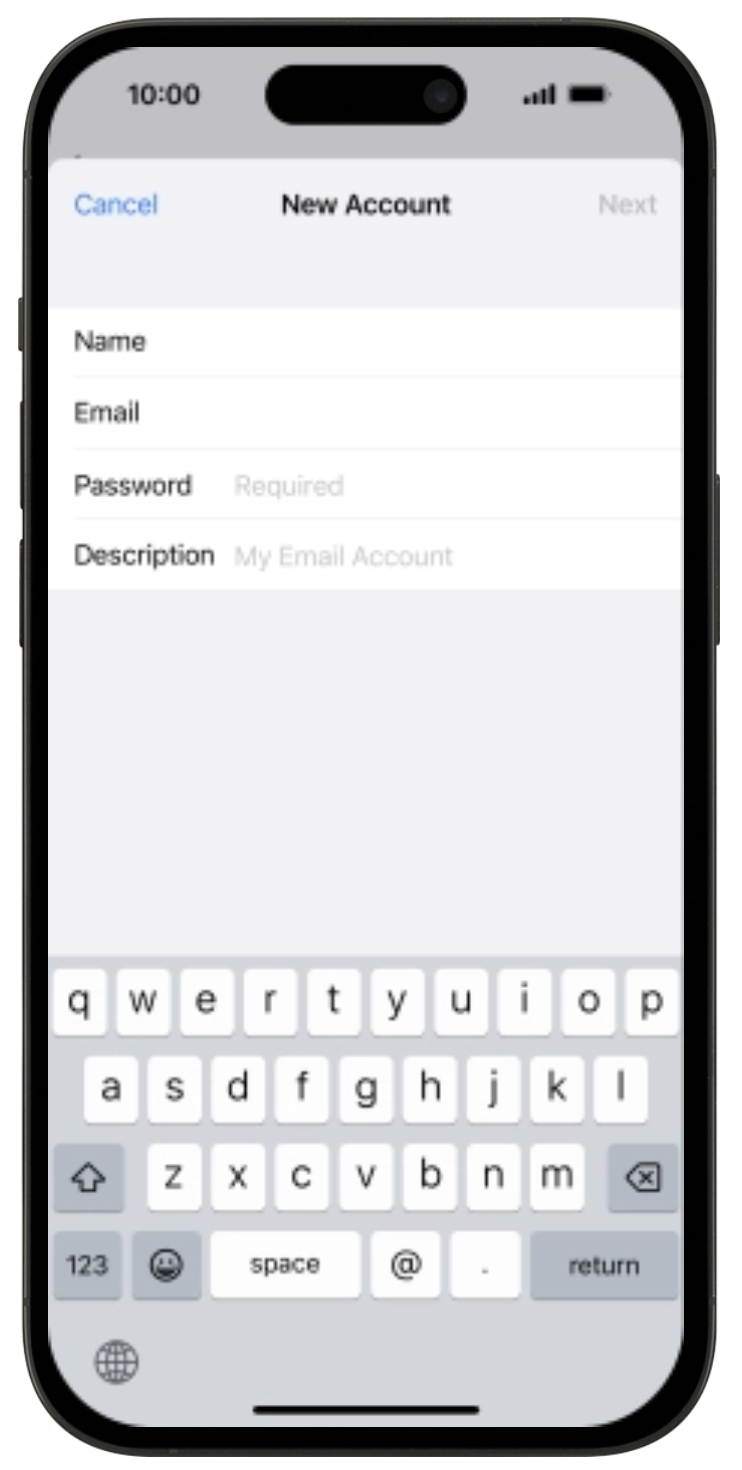
Tap Next.
4. Servers
Choose IMAP at the top.
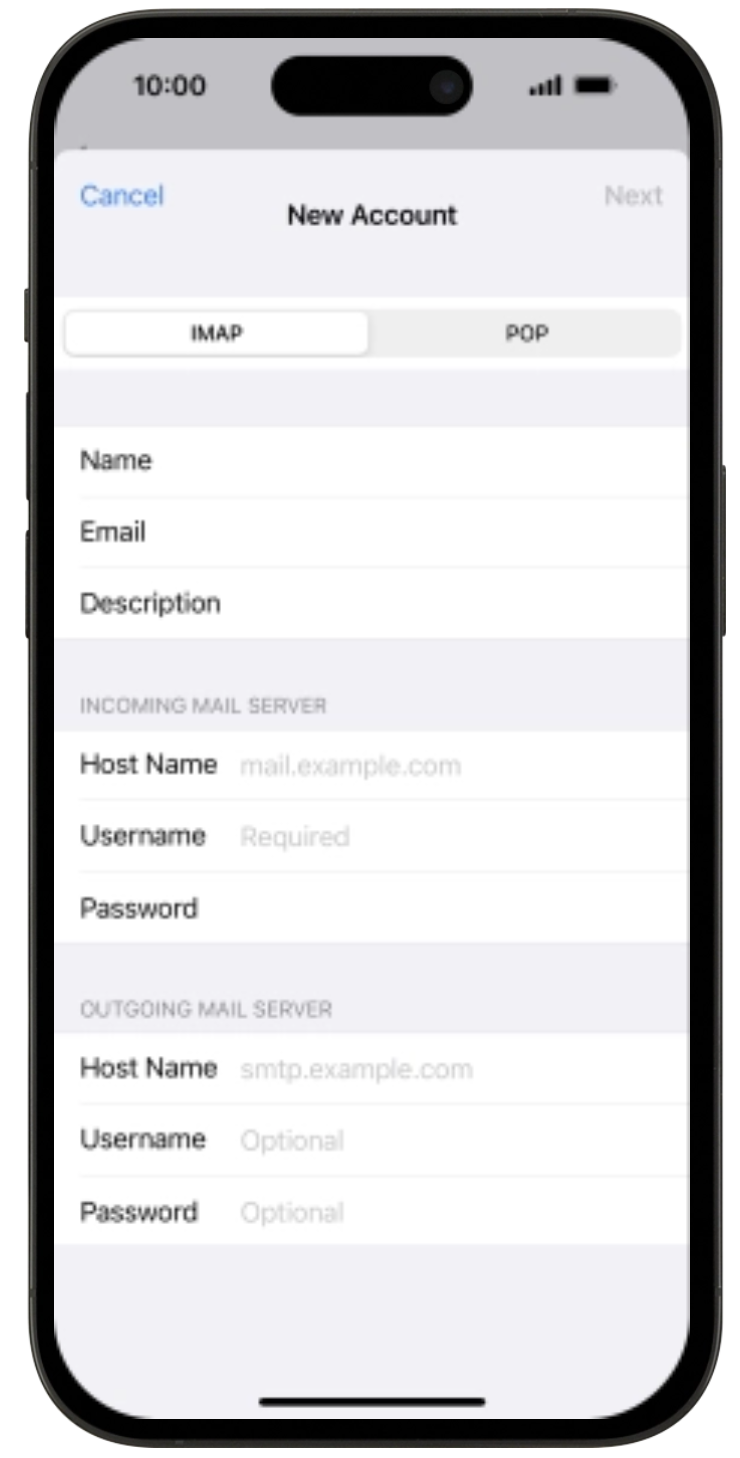
Fill in, under both Incoming Mail Server and Outgoing Mail Server:
- Host Name:
mail.sooma.com - User Name: your full email address
- Password: your account password
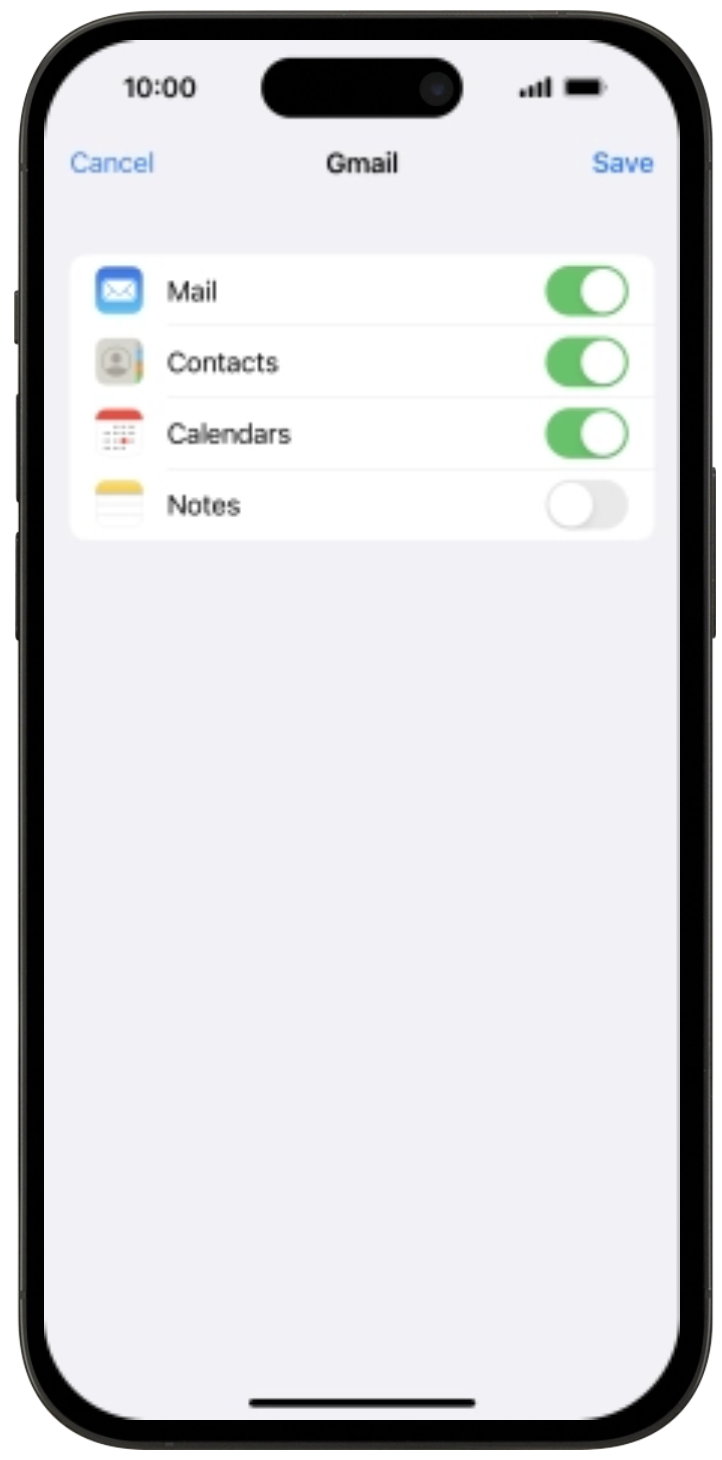
Tap Next and then Save.
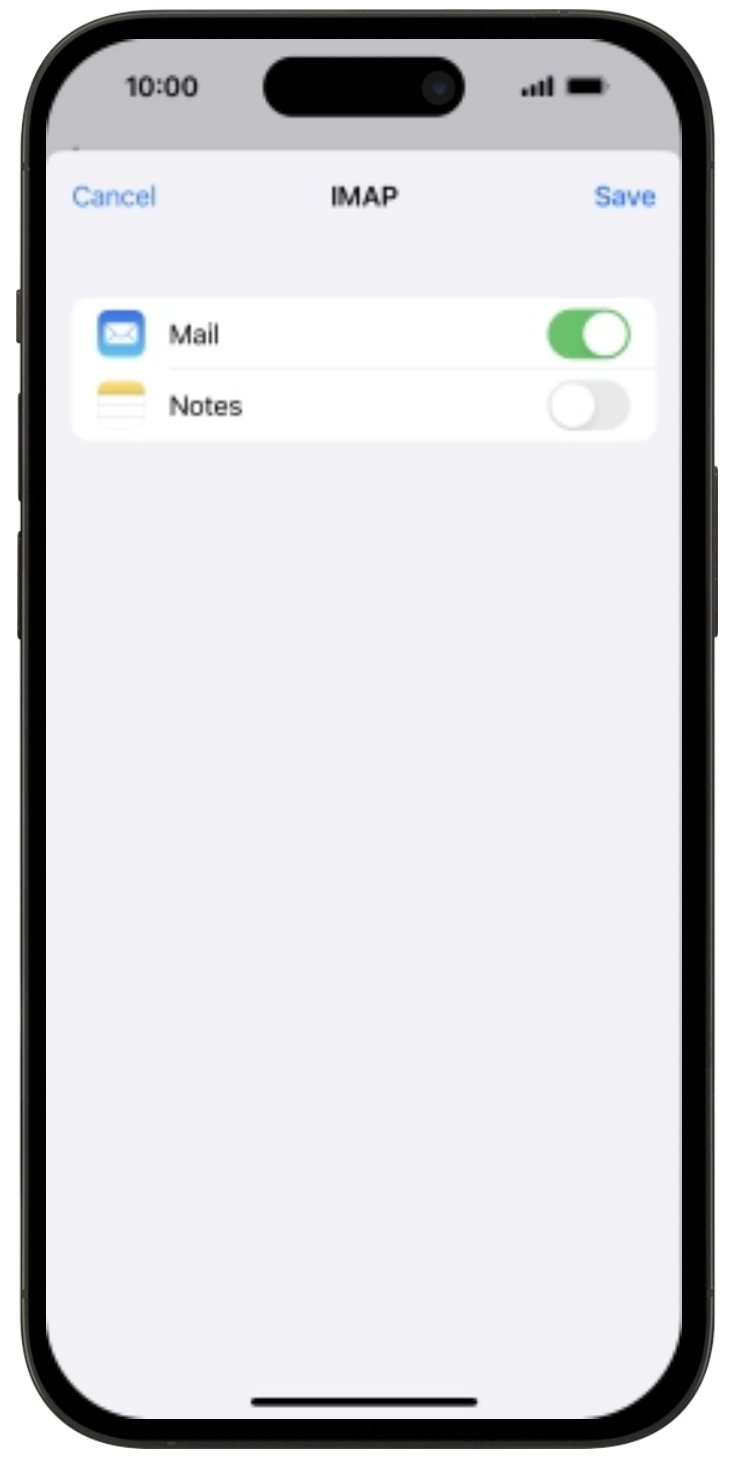
5. Turn on SSL
The iPhone does not always choose the encrypted connection by itself. To make sure everything is encrypted:
-
In Settings > Mail > Accounts, choose the account you have just created and tap Account.
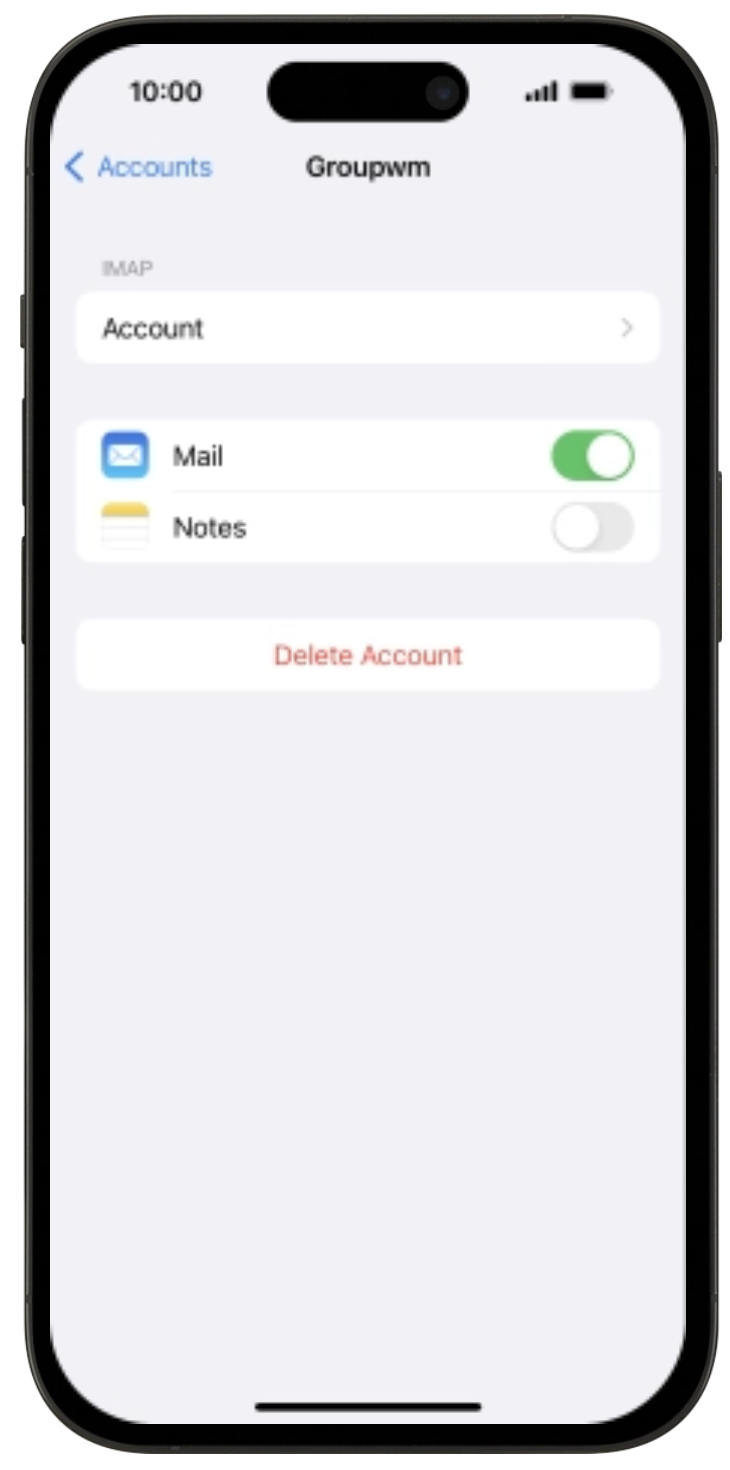
-
Tap Outgoing Mail Server (SMTP), then the
mail.sooma.comserver. Turn on Use SSL and set the port to 465. Tap Done.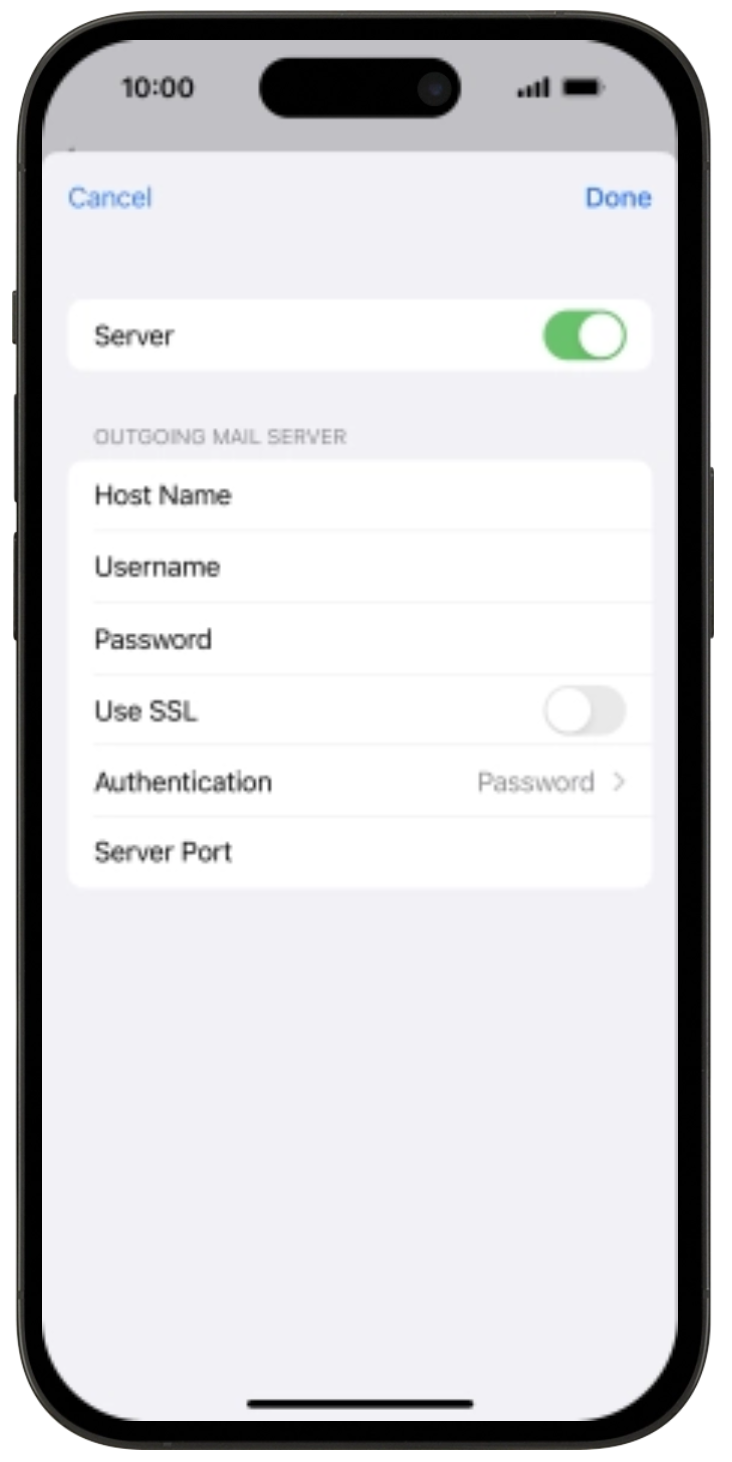
-
Go back, tap Advanced and, under Incoming Settings, turn on Use SSL with port 993.
- Tap Account and Done to save.
The account is now set up with IMAP and SSL. Menu names may vary slightly between iOS versions.
For contacts and calendars, see Sync contacts and calendars on iPhone and iPad. All settings: Server settings.