Manage contacts and lists
Open Contacts in the webmail top bar.
Address books
The address books in your mailbox appear on the left:
- Personal Addresses — the contacts you create or import.
- Collected Recipients — addresses you have written to, saved automatically for autocomplete.
- Trusted Senders — addresses whose messages should not be treated as spam. See Spam.
Create a contact
- Click New contact.
- Fill in the First name and Last name.
- On the Properties tab, enter the email, phone and address. The selector to the left of each field (Home, Work, Mobile…) sets the type.
- Use Add field… to add other details (company, job title, website, birthday). The Personal and Notes tabs hold personal details and free text.
- Click Save, at the bottom of the form.
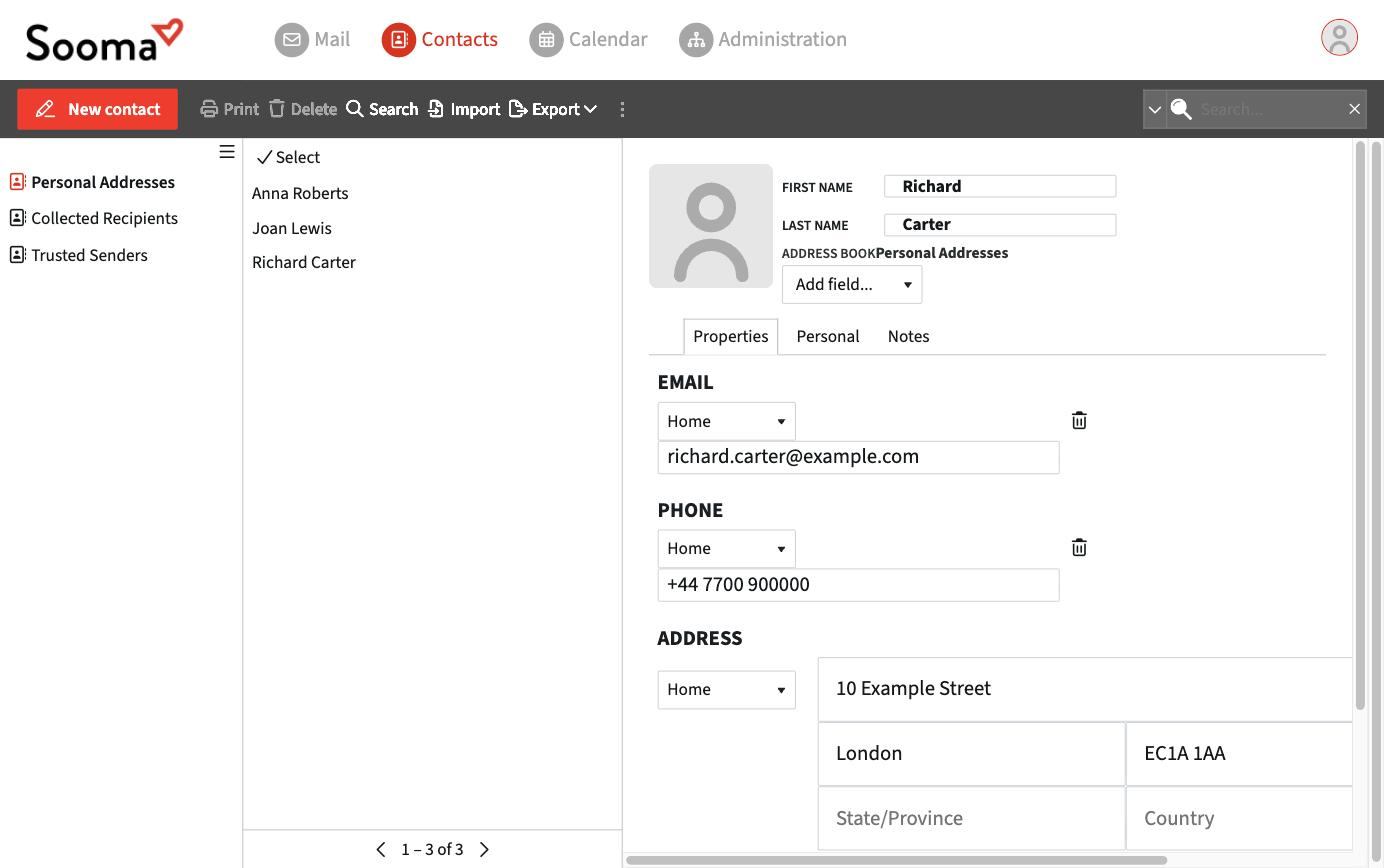
To add a photo, click the contact's picture and choose the file.
Contact groups
Groups let you write to several people at once. Click the ☰ icon above the list of address books and choose Add group; then drag contacts into the group. When writing a message, type the group's name in the To field to include all its members.
Groups and distribution lists
A contact group is yours alone and only works in webmail. For an address shared by a team (for example sales@company.com), the administrator creates a distribution list.
Search, print and delete
Use the Search field at the top right, or Search in the toolbar for a search across several fields. Select one or more contacts to Print or Delete them.
Contacts sync with your phone and with apps that support CardDAV. See How sync works.